Are You Ready for Intermediate Calisthenics? A 10-Minute Self-Test
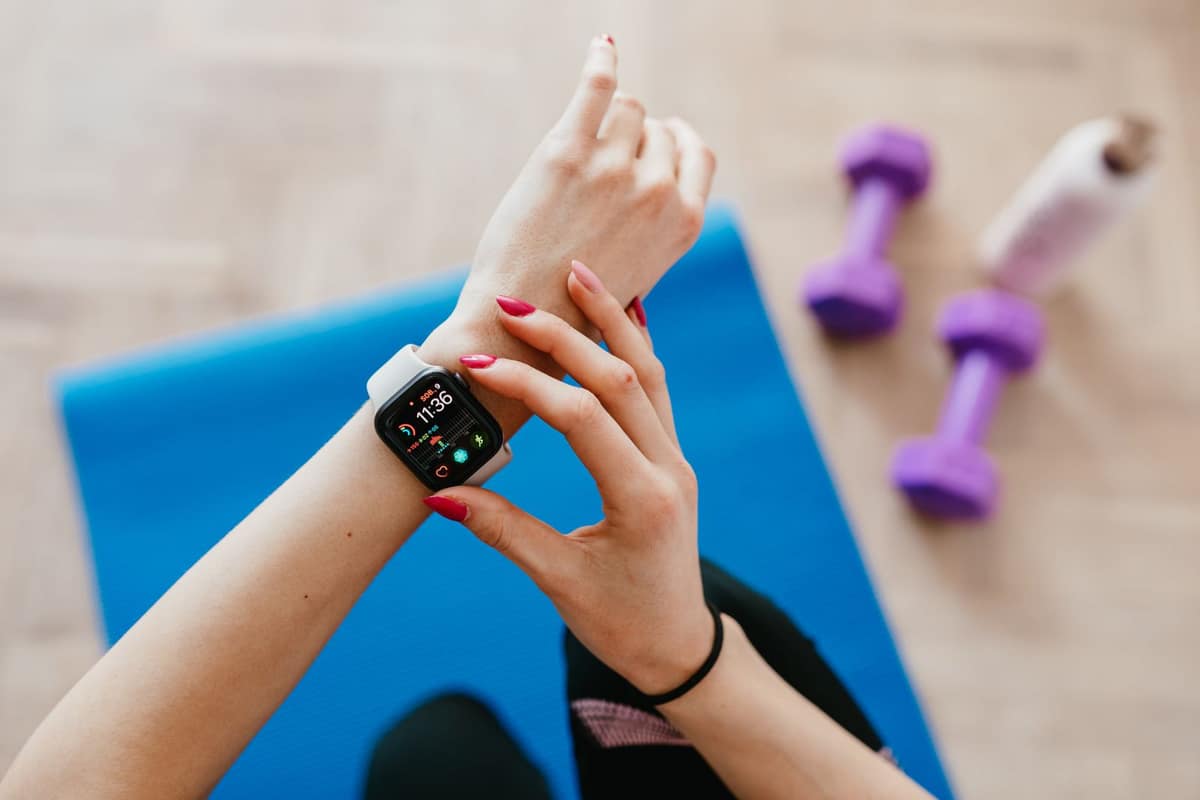
“Beginner”, “intermediate” and “advanced” are labels. What matters is whether a plan matches what you can do today. Ten minutes, a timer and three tests will tell you.
The three tests
| Test | How | Write down |
|---|---|---|
| Push-Ups | As many clean reps as you can without stopping. Choose floor or incline, and write down which. | reps |
| Squats | As many clean reps as you can in 60 seconds. | reps in 60 sec |
| Plank | Hold as long as you can. Stop the clock when your hips sag. | seconds |
Warm up for two minutes first, and rest two minutes between tests. Only clean reps count.
Where the numbers put you
| Your result | Start at | What the sessions look like |
|---|---|---|
| Fewer than 10 floor push-ups, or a plank under 45 seconds | Level 1, Beginner CaliStart 21, then 42 | 10 to 20 minutes, 2 to 3 rounds, incline push-ups to start |
| 10 or more clean floor push-ups and a 45-second plank | Level 2, Intermediate CaliStart 63 | 20 to 25 minutes, 3 to 4 rounds, first jumps |
| 15 or more clean floor push-ups, a 60-second plank, and quiet jump landings | Level 3, Advanced CaliStart 84 | 20 to 25 minutes, up to 5 rounds, explosive moves |
These thresholds are the ones the CaliStart guides use. They are a practical guide, not a medical or athletic standard.
Form for each test
Push-Up
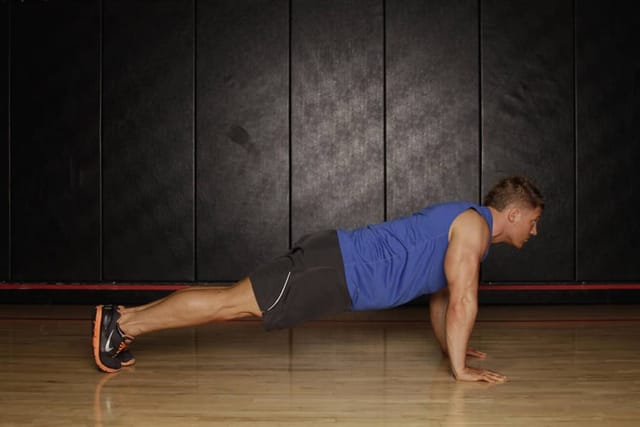
- Start in a high plank: hands under your shoulders, legs straight, feet together.
- Brace your abs and keep your body in one straight line.
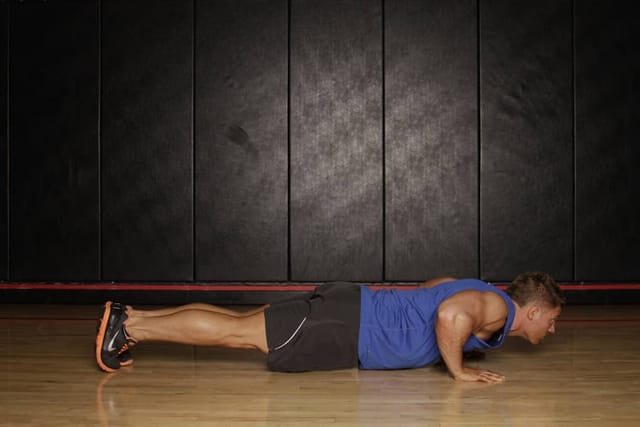
- Lower your chest until it is just above the floor, elbows about 45° from your sides.
- Push the floor away until your arms are straight.
Form cue: Chest and hips move together — no worming up.
Easier: Do the Incline Push-Up, or keep your knees on the floor.
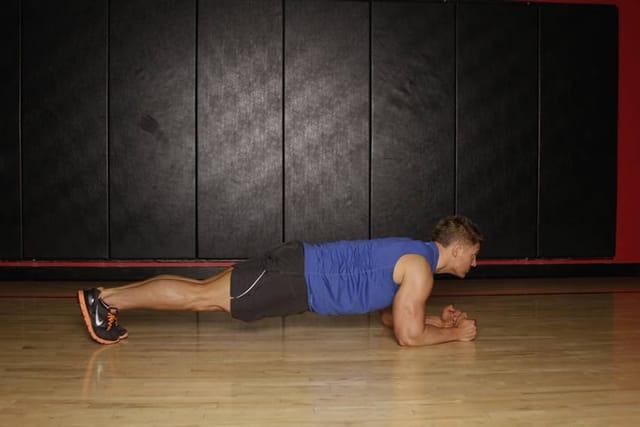
Plank
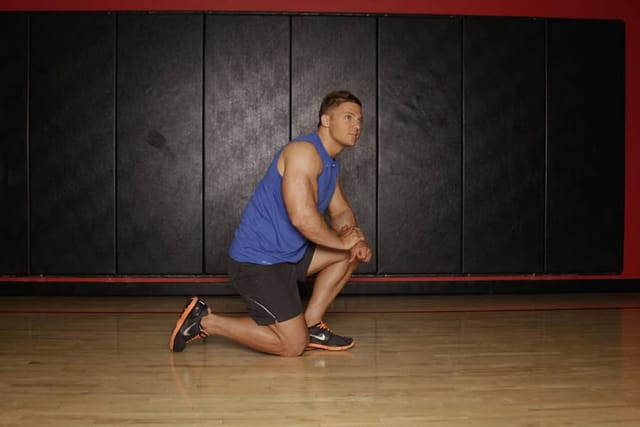
- Kneel, then place your forearms on the floor with elbows under your shoulders.
- Step your feet back one at a time until your legs are straight.
- Hold a straight line from head to heels and breathe normally.
- Stop the hold as soon as your hips start to sag.
Form cue: Tuck your tailbone slightly and squeeze your glutes.
Easier: Keep your knees on the floor.
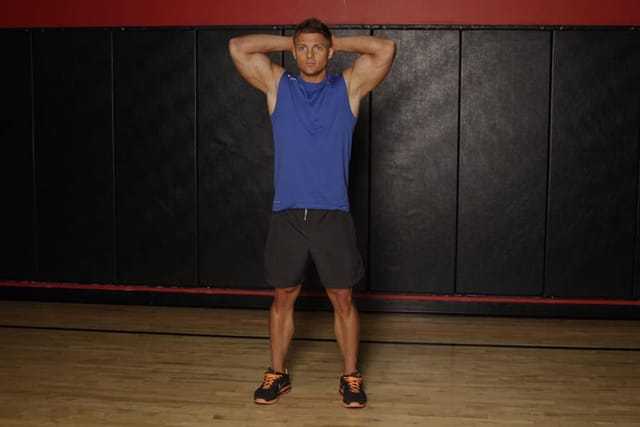
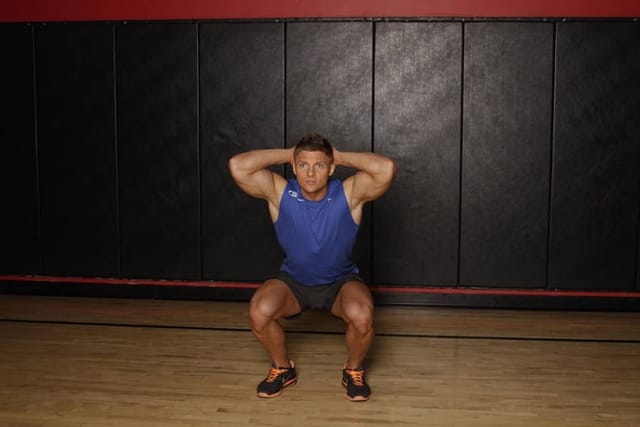
Bodyweight Squat
- Stand with your feet shoulder-width apart, toes turned slightly out.
- Push your hips back and bend your knees as if sitting into a chair.
- Go as low as you can while your heels stay down and your chest stays up.
- Drive through your whole foot to stand tall.
Form cue: Knees track over your toes; don’t let them cave in.
Easier: Squat down to a chair, touch it lightly and stand back up.
If you fall between two levels
Start at the lower one. A level that is slightly too easy costs you a few weeks. A level that is too hard usually costs you the habit, and sometimes a shoulder.
If the numbers say “advanced” but it has been a while
Strength comes back faster than tendons and joints readapt. If you have not trained in several months, begin one level below your test result and move up after two or three weeks.
Retest, don’t guess
Every level ends with the same three tests. Moving up is a decision you make with numbers in front of you.
The CaliStart bundle is 84 days of sessions like this, from beginner to advanced, one page a day, with photos of every move. Seven PDFs, pay once.
General fitness information for healthy adults, not medical advice. Talk to your doctor before starting an exercise program, and stop if you feel pain, dizziness or chest discomfort. Results vary. The people in the photos are models.