A 15-Minute Calisthenics Workout With No Equipment
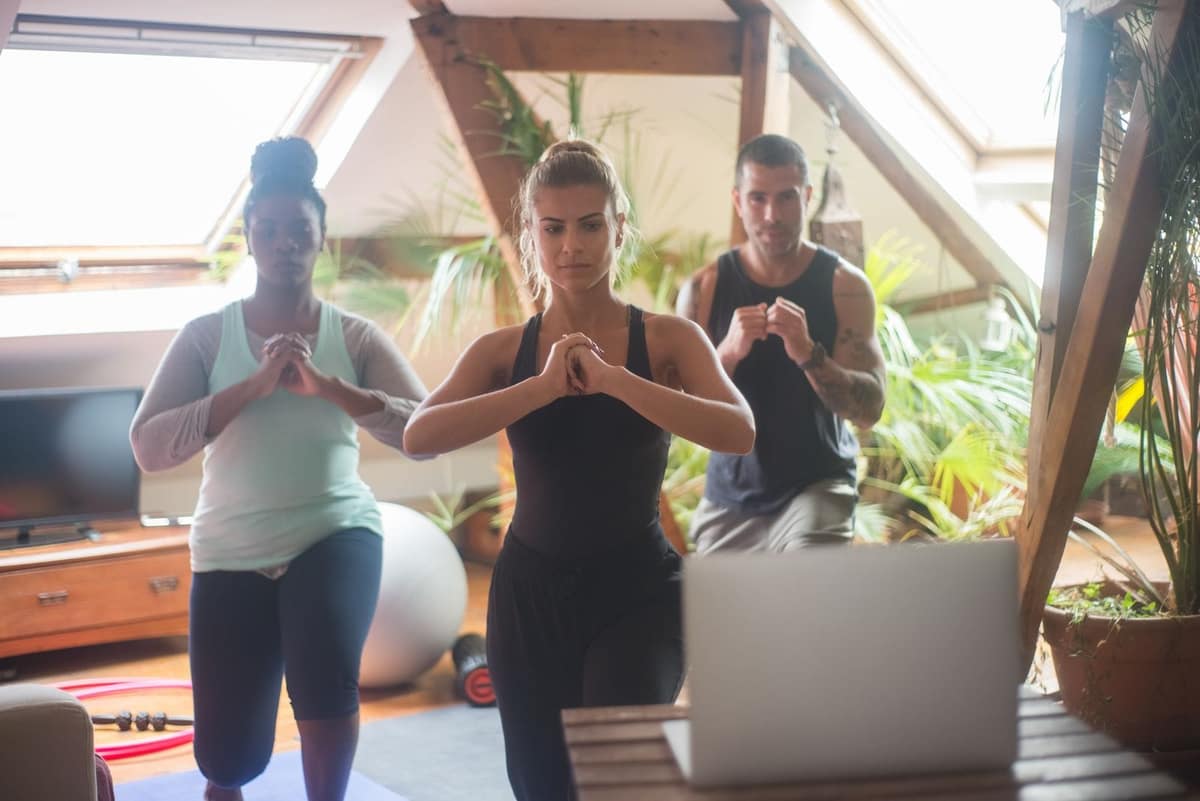
This is Day 2 of CaliStart 21, exactly as it appears in the guide: a legs-and-core session that takes about 10 to 12 minutes and needs nothing but floor space.
Warm-up (2 minutes)
| Exercise | Do |
|---|---|
| Arm Circles | 10 each direction |
| Standing Hip Circles | 8 each leg |
| Inchworm | 4 slow reps |
| Bodyweight Squat | 8 slow reps |
The workout: 2 rounds
Go down the list once, then repeat. Rest 30–45 sec between exercises.
| Exercise | Do |
|---|---|
| Bodyweight Squat | 10 reps |
| Glute Bridge | 12 reps |
| Split Squat | 6 each side |
| Crunch | 10 reps |
| Plank | 20 sec hold |
Note for the day: Squat only as deep as you can with your heels down and chest up. Depth comes with practice.
How to do each exercise
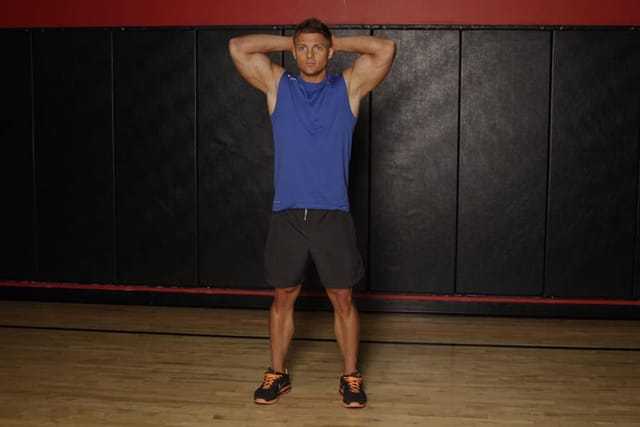
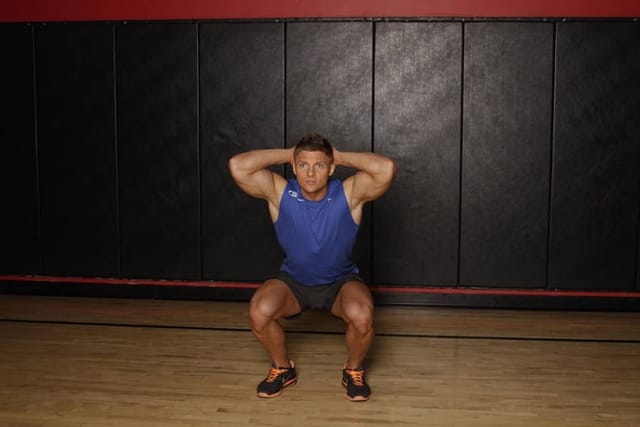
Bodyweight Squat
- Stand with your feet shoulder-width apart, toes turned slightly out.
- Push your hips back and bend your knees as if sitting into a chair.
- Go as low as you can while your heels stay down and your chest stays up.
- Drive through your whole foot to stand tall.
Form cue: Knees track over your toes; don’t let them cave in.
Easier: Squat down to a chair, touch it lightly and stand back up.
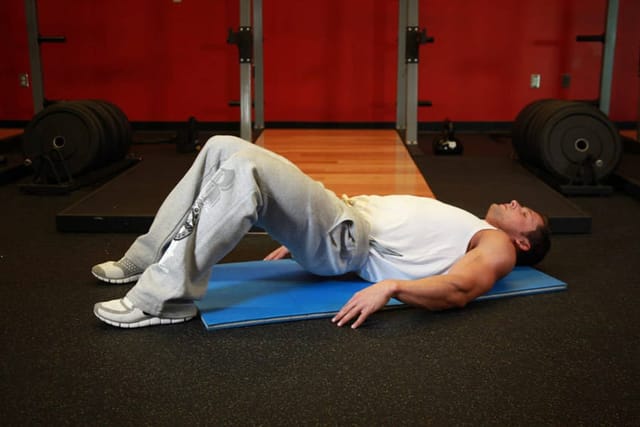
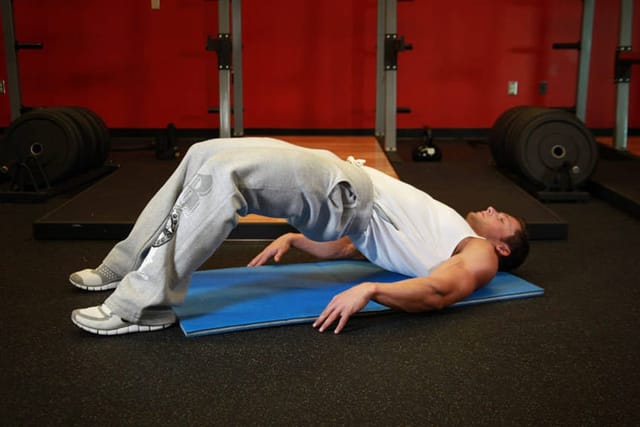
Glute Bridge
- Lie on your back with your knees bent and feet flat, hip-width apart.
- Press through your heels and lift your hips until knees, hips and shoulders line up.
- Squeeze your glutes at the top for one second.
- Lower slowly to the floor.
Form cue: Lift with your glutes, not by arching your lower back.
Easier: Lift only as high as feels comfortable.
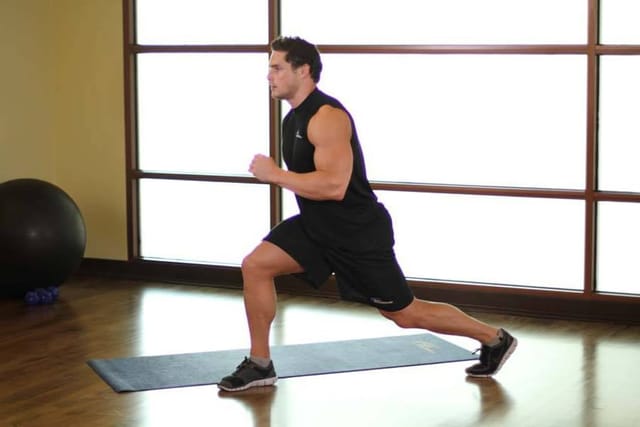
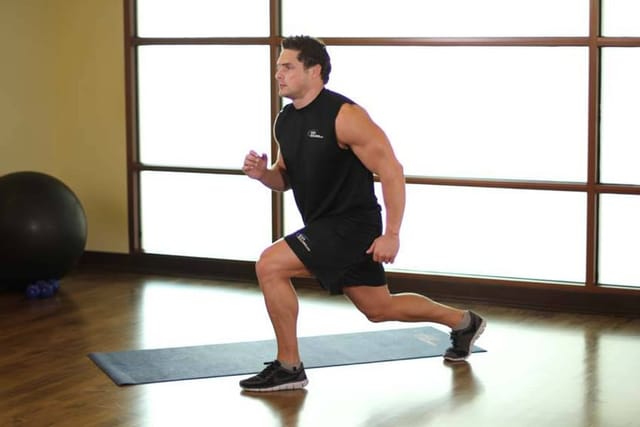
Split Squat
- Take a long step forward and stay there, back heel lifted.
- Keep your torso tall and lower your back knee straight down toward the floor.
- Stop just above the floor, then push through your front foot to rise.
- Finish all reps on one side, then switch legs.
Form cue: Think “down and up”, not “forward and back”.
Easier: Hold a chair or wall for balance and use a shorter range.
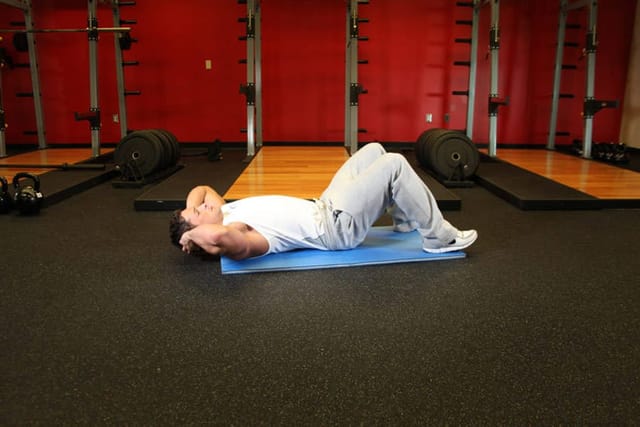
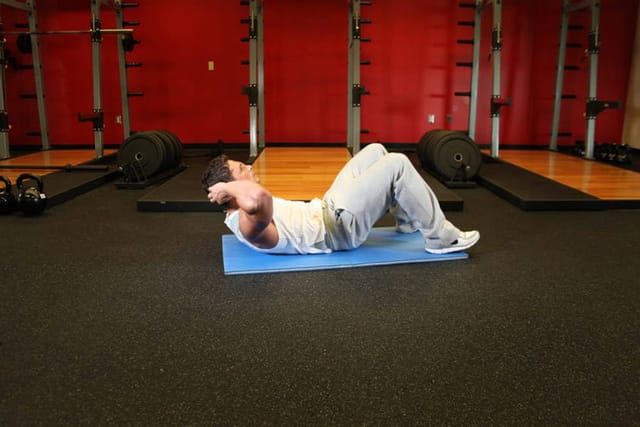
Crunch
- Lie on your back with your knees bent and feet flat.
- Rest your fingertips lightly behind your head, elbows wide.
- Curl your shoulder blades off the floor by tightening your abs.
- Lower slowly without letting your head drop.
Form cue: Don’t pull on your neck; keep a fist of space under your chin.
Easier: Cross your arms over your chest.
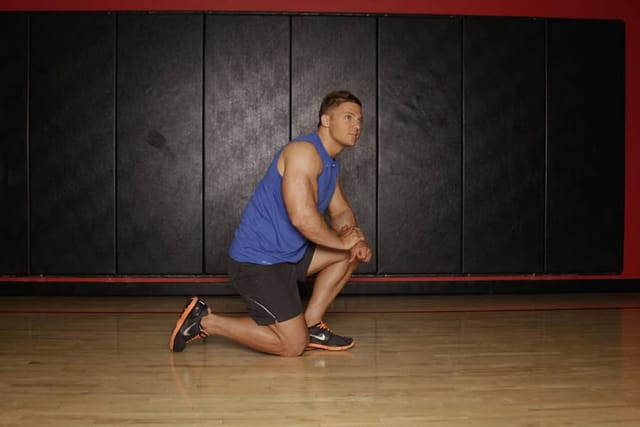
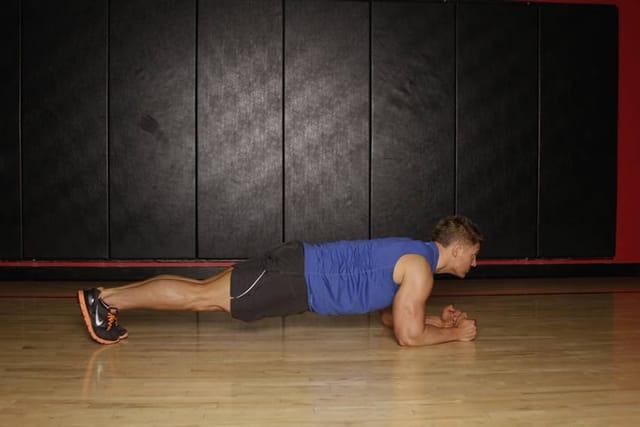
Plank
- Kneel, then place your forearms on the floor with elbows under your shoulders.
- Step your feet back one at a time until your legs are straight.
- Hold a straight line from head to heels and breathe normally.
- Stop the hold as soon as your hips start to sag.
Form cue: Tuck your tailbone slightly and squeeze your glutes.
Easier: Keep your knees on the floor.
Make it easier or harder
Every move has an easier version, listed above. To make the session harder, add a third round or slow each rep down. Change one thing at a time.
The CaliStart bundle is 84 days of sessions like this, from beginner to advanced, one page a day, with photos of every move. Seven PDFs, pay once.
General fitness information for healthy adults, not medical advice. Talk to your doctor before starting an exercise program, and stop if you feel pain, dizziness or chest discomfort. Results vary. The people in the photos are models.